EN
EN
 English
 Português

Industry News
Why CV Joints Fail Early and How to Spot the Warning Signs Before Replacement
Content
- 1 Understanding the Role of CV Joints in a Vehicle Drivetrain
- 2 Common Causes of CV Joint Failure
- 3 Early Warning Signs of a Failing CV Joint
- 4 Comparing Inner Joint and Outer Joint Symptom Patterns
- 5 How CV Joint Wear Progresses With Mileage
- 6 What Influences the Scope of a CV Joint Repair
- 7 How a CV Joint Replacement Is Typically Carried Out
- 8 Maintenance Practices That Extend CV Joint Service Life
- 9 Frequently Asked Questions
- 9.0.1 Q1: What is the very first sign that a CV joint is starting to fail?
- 9.0.2 Q2: Can a vehicle still be driven safely with a failing CV joint?
- 9.0.3 Q3: Is it possible to repair only the boot instead of the whole joint?
- 9.0.4 Q4: Do inner and outer joints fail for the same reasons?
- 9.0.5 Q5: How often should CV joints be inspected?
- 9.0.6 Q6: Does towing or heavy loading affect CV joint wear?
Understanding the Role of CV Joints in a Vehicle Drivetrain
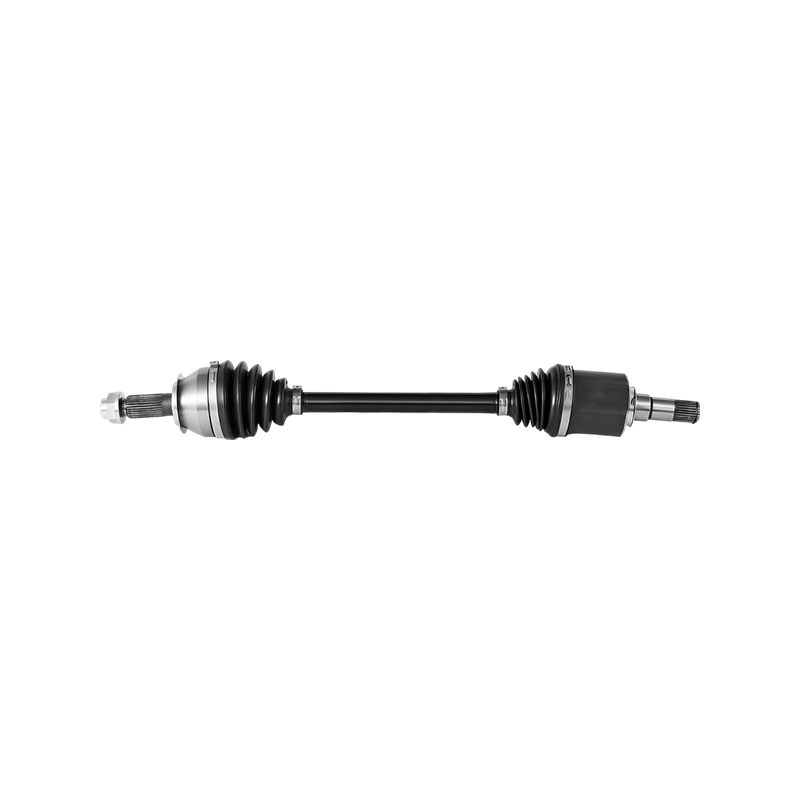
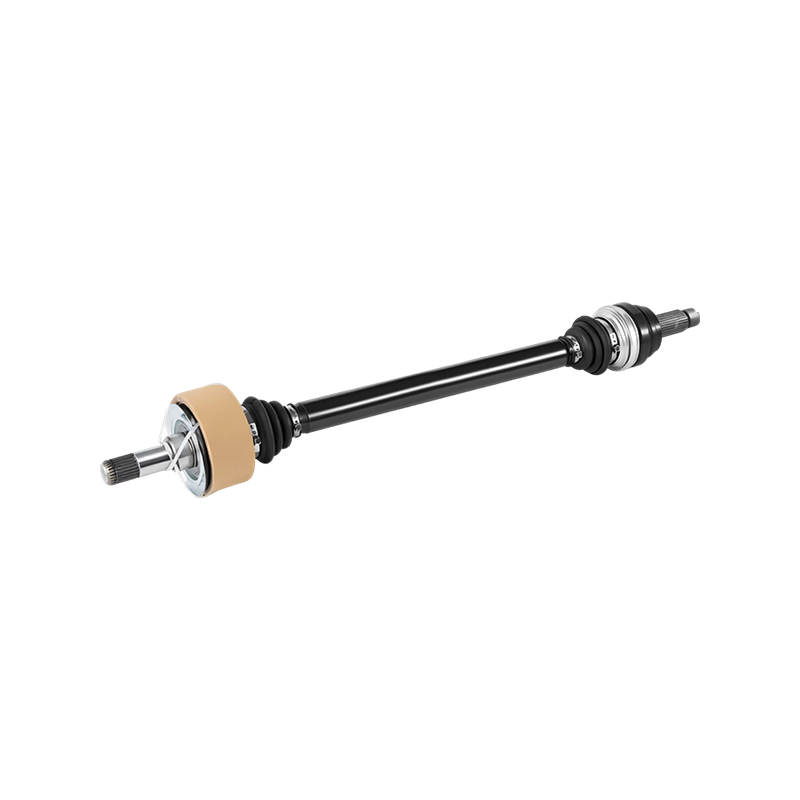
Every front-wheel-drive, all-wheel-drive, and many rear-wheel-drive vehicles rely on a pair of flexible connectors at each axle shaft to transfer engine power to the wheels while the suspension moves and the steering angle changes. These connectors are the cv joints, and their job is deceptively simple on paper but mechanically demanding in practice: keep rotational speed constant no matter how sharply the wheel turns or how far the suspension travels over a bump.
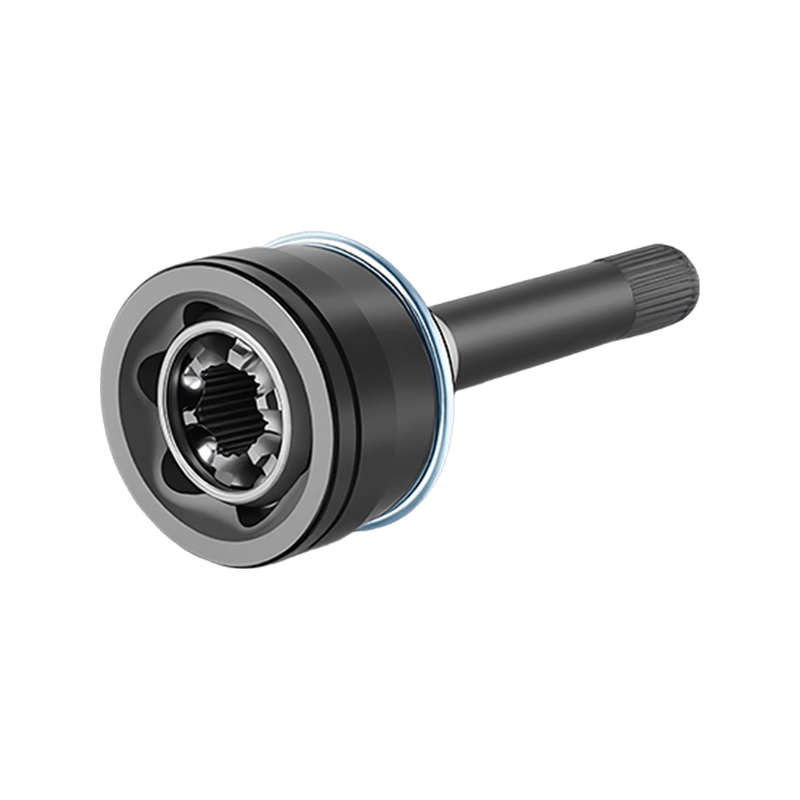
A constant velocity joint assembly, showing the ball cage and housing that allow smooth power transfer at variable angles.
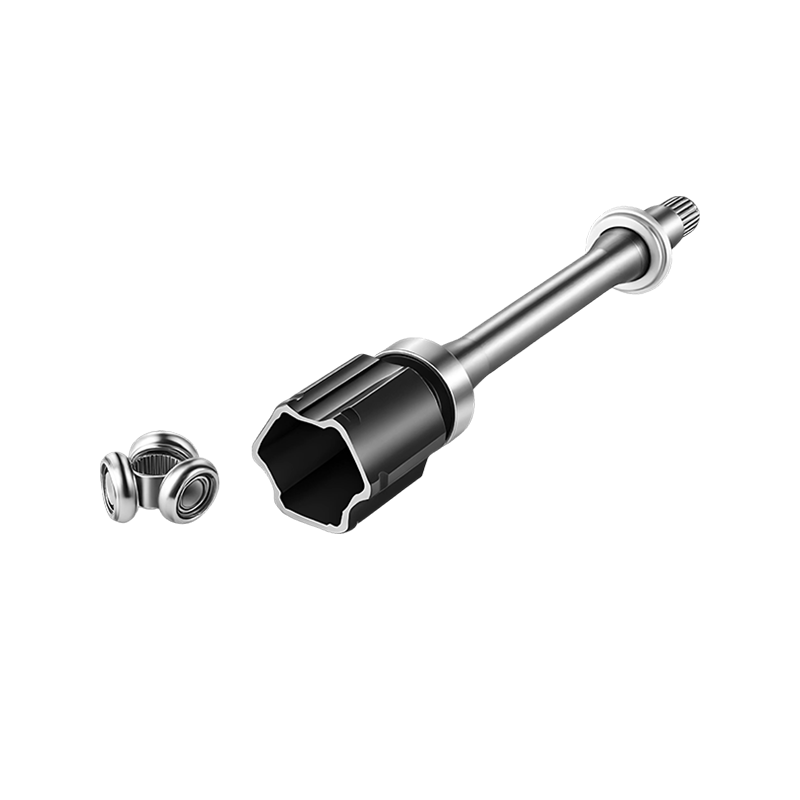
Each axle typically carries two joints with different jobs. The inner joint, closer to the transmission, is usually a tripod-style design built to accommodate the axle plunging in and out as the suspension compresses. The outer joint, closer to the wheel hub, is normally a Rzeppa or ball-type design built to handle sharp steering angles without losing rotational smoothness. Both are packed with grease and sealed inside a flexible rubber or thermoplastic boot that keeps contamination out and lubrication in.
2
Joints per axle shaft in most configurations
1
Sealed boot protecting each joint from debris and moisture
0
Tolerance for grease loss once a boot splits open
Because the entire system depends on that sealed boot staying intact, the majority of joint failures do not start with the metal components wearing out on their own. They start with a torn boot letting grease escape and road grit get in, which then accelerates wear on parts that would otherwise last for a very long service life.
Common Causes of CV Joint Failure
Understanding why joints fail helps explain why some vehicles need attention far earlier than others, even with similar mileage. The following factors are the ones technicians see most often during inspection.
Of these, a compromised boot is consistently the starting point for most joint replacements. This is why inspection of the boot condition is one of the fastest ways to catch a developing problem before it becomes an expensive repair.
Early Warning Signs of a Failing CV Joint
Because CV joints operate quietly when healthy, almost any new noise or vibration coming from the drivetrain area during turns or acceleration is worth investigating. The chart below summarizes how frequently different symptoms are reported when a joint is nearing the end of its service life, based on common diagnostic patterns rather than any single data source.
A clicking or popping sound during tight turns, especially at low speed in a parking lot, is one of the most recognizable indicators of a worn outer joint. Vibration that increases with acceleration and eases when coasting is more typical of an inner joint issue.
Comparing Inner Joint and Outer Joint Symptom Patterns
Since the inner and outer joints handle different types of movement, they tend to fail in slightly different ways. The radar comparison below outlines how each symptom typically weighs differently depending on which joint is developing a problem.
| Symptom | Outer Joint Emphasis | Inner Joint Emphasis |
|---|---|---|
| Clicking during turns | High | Low |
| Vibration under acceleration | Low to Moderate | High |
| Clunk on gear engagement | Low | Moderate to High |
| Visible boot cracking | Moderate to High | Low to Moderate |
How CV Joint Wear Progresses With Mileage
Wear on a healthy, properly sealed joint increases very gradually. Once contamination enters through a torn boot, the rate of wear accelerates sharply because grit acts as an abrasive between the ball bearings and their races. The line chart below illustrates this typical progression pattern.
The steep rise after the midpoint of the chart reflects what happens once a boot has already failed and contamination has entered the joint. This is why a small, inexpensive boot tear caught early is far less costly to address than a joint that has been running dry and gritty for thousands of additional miles.
What Influences the Scope of a CV Joint Repair
Not every worn joint requires the same level of work. Several factors determine whether a shop replaces just the boot, the joint alone, or the complete axle assembly.
| Factor | Typical Impact | Notes |
|---|---|---|
| Number of axles affected | Moderate to High | All-wheel-drive layouts often add extra joints per side |
| Boot vs full joint condition | Low to Moderate | Caught early, a boot alone may resolve the issue |
| Corrosion on axle shaft | Moderate | Can require full axle assembly rather than a joint swap |
| Access and labor complexity | Moderate to High | Varies by suspension layout and vehicle platform |
How a CV Joint Replacement Is Typically Carried Out
While specific procedures vary by vehicle platform, the general sequence a technician follows stays consistent across most front-wheel-drive and all-wheel-drive vehicles.
- Confirm the noise or vibration source through a controlled test drive and visual inspection.
- Support the vehicle safely and remove the wheel for full access to the joint area.
- Separate the axle from the hub carrier and lower control arm as needed.
- Withdraw the axle assembly from the transmission or intermediate shaft.
- Replace the joint, repack it with the correct grease volume, and fit a new boot and clamps.
- Reinstall the axle, reconnect suspension components, and torque fasteners to specification.
- Road test to confirm the noise or vibration is resolved before returning the vehicle to service.
Maintenance Practices That Extend CV Joint Service Life
A five-minute boot inspection during a routine tire rotation is one of the least expensive habits that can prevent a much larger drivetrain repair later.
- Visually check the rubber boot for cracks, splits, or slung grease during every tire rotation or oil change.
- Address a torn boot immediately rather than waiting, since grease loss and contamination progress quickly once the seal is broken.
- Keep suspension bushings and ball joints in good condition, since excess play adds unnecessary load to the joint.
- Avoid prolonged driving at full steering lock combined with hard acceleration, particularly in tight parking maneuvers.
- When a boot has already failed, sourcing dependable replacement cv joints promptly helps avoid secondary damage to the axle shaft or transmission output seal.
- Have unusual clicking or vibration inspected promptly rather than continuing to drive on a joint that is already showing symptoms.
Frequently Asked Questions
Q1: What is the very first sign that a CV joint is starting to fail?
In most cases, the earliest noticeable sign is a rhythmic clicking or popping sound that occurs specifically when turning at low speed, such as pulling into a parking space.
Q2: Can a vehicle still be driven safely with a failing CV joint?
Short distances at moderate speed are often possible, but continuing to drive on a joint with a torn boot or advanced play risks the joint separating, which can cause a sudden loss of power to that wheel.
Q3: Is it possible to repair only the boot instead of the whole joint?
Yes, if the boot is caught early before contamination reaches the internal bearings, replacing just the boot and repacking the grease can resolve the issue without replacing the joint itself.
Q4: Do inner and outer joints fail for the same reasons?
Not exactly. Outer joints tend to show turning-related clicking due to constant steering articulation, while inner joints more often show vibration and clunking tied to acceleration and gear changes.
Q5: How often should CV joints be inspected?
A visual check during every routine tire rotation or oil service is generally sufficient to catch a developing boot tear before it leads to joint contamination.
Q6: Does towing or heavy loading affect CV joint wear?
Yes, sustained heavy loads increase torque through the axle and joint, which can accelerate wear compared to typical daily driving conditions.
- Email: zyqya@qq.com
- Tel: +86-576-87209702
- Mob: +86-13906546241
- Sales Tel: +86-15098852690/19861808468
- Whatsapp: +86-13656869496
- Add: No. 9 Xingyuan Road, Farm Automobile and Motorcycle Park, Yuhuan City, Zhejiang Province, China
Copyright © Yuhuan Bayzo Machinery Co., Ltd. All Rights Reserved.
OEM/ODM Drivetrain Components Suppliers